How to make a concrete table? – DIY with microcement [photos]
Concrete table – tools needed
Concrete table – step by step
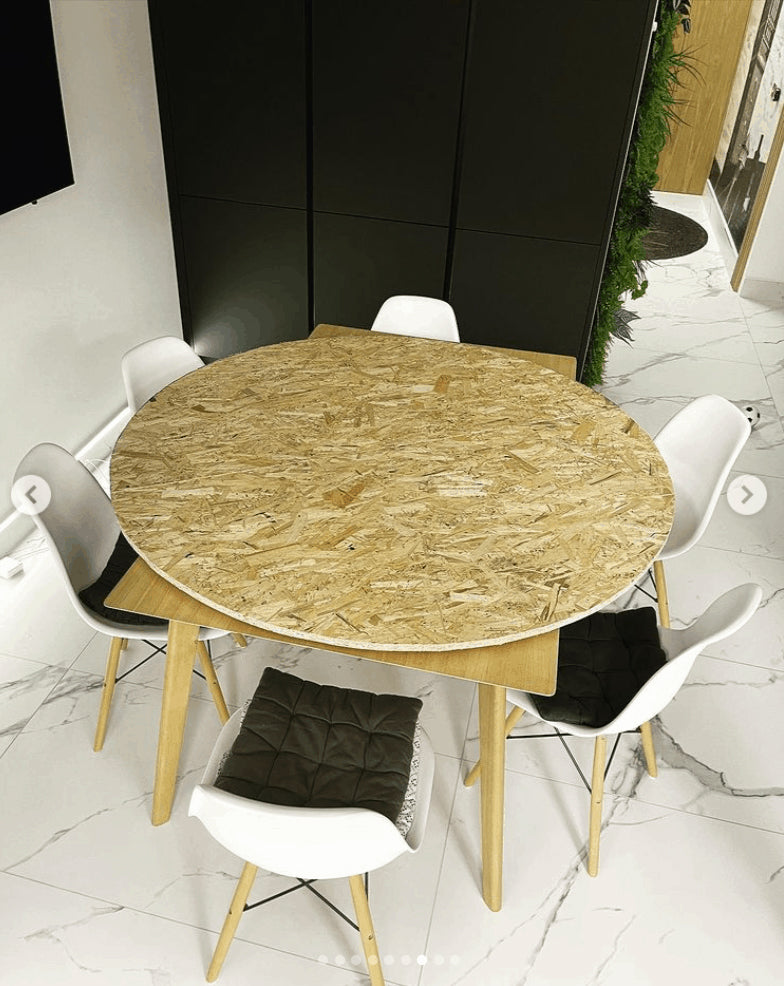
Step one – preparing the table structure
Prepare the table frame. If you are giving an old piece of furniture a makeover, simply sand the tabletop gently and remove any dust. If you are building the table from scratch, cut the tabletop to the right size. Prime the surface with FESTGrunt to even out the absorbency of the board and leave to dry for 2-4 hours.
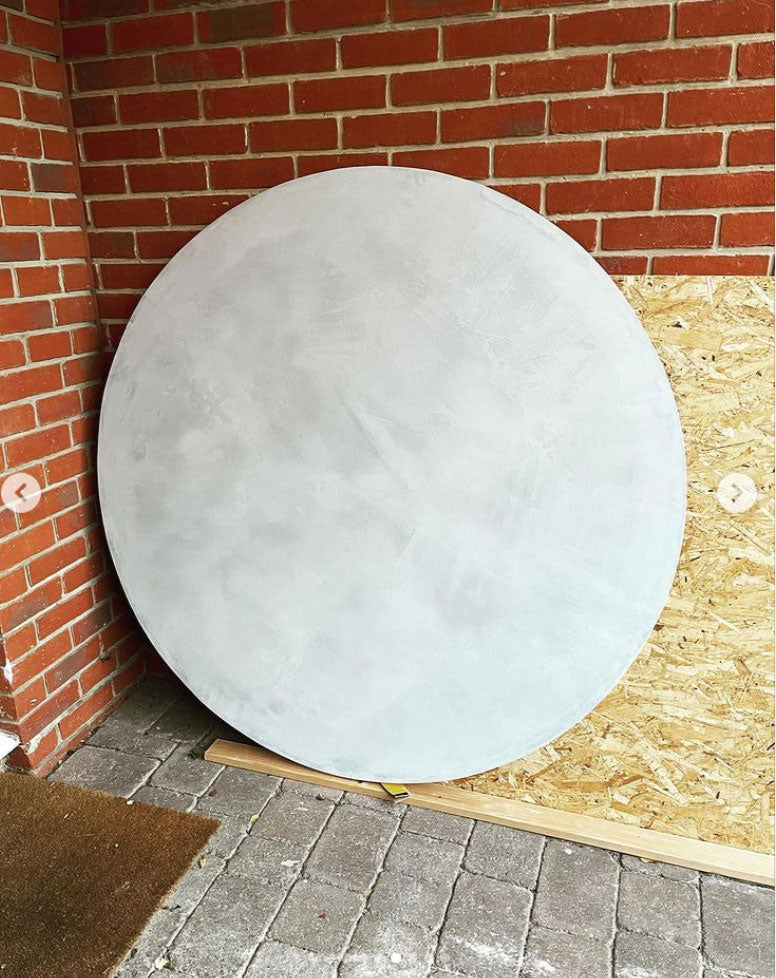
Step two – preparing the microcement and applying the first layer
If you use FestWall Life or Festfloor Titan microcement – mix the microcement ingredients in the right proportions according to the instructions in the technical sheet. Cover the worktop with a thin layer of microcement using a trowel and spatula. Make sure to precisely finish the corners of the table. Wait for the microcement to dry.
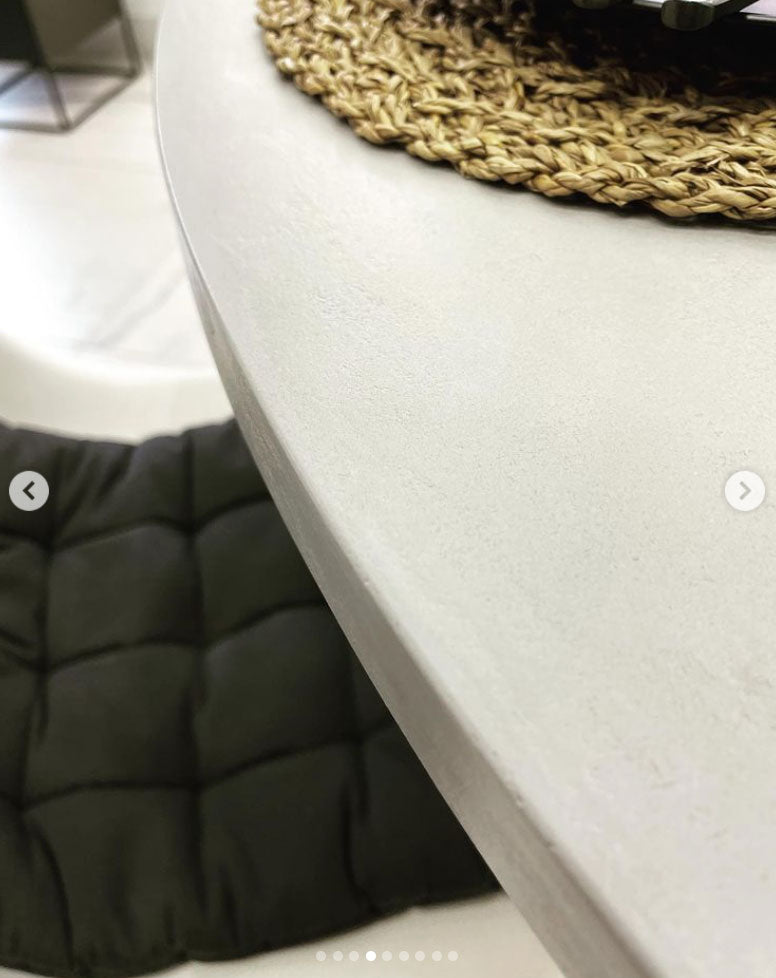
Step three – sanding and applying the second layer of microcementLevel the surface of the microcement using a sander or sandpaper, remove any dust and apply the second layer. Once dry, sand it in the same way as the first layer.
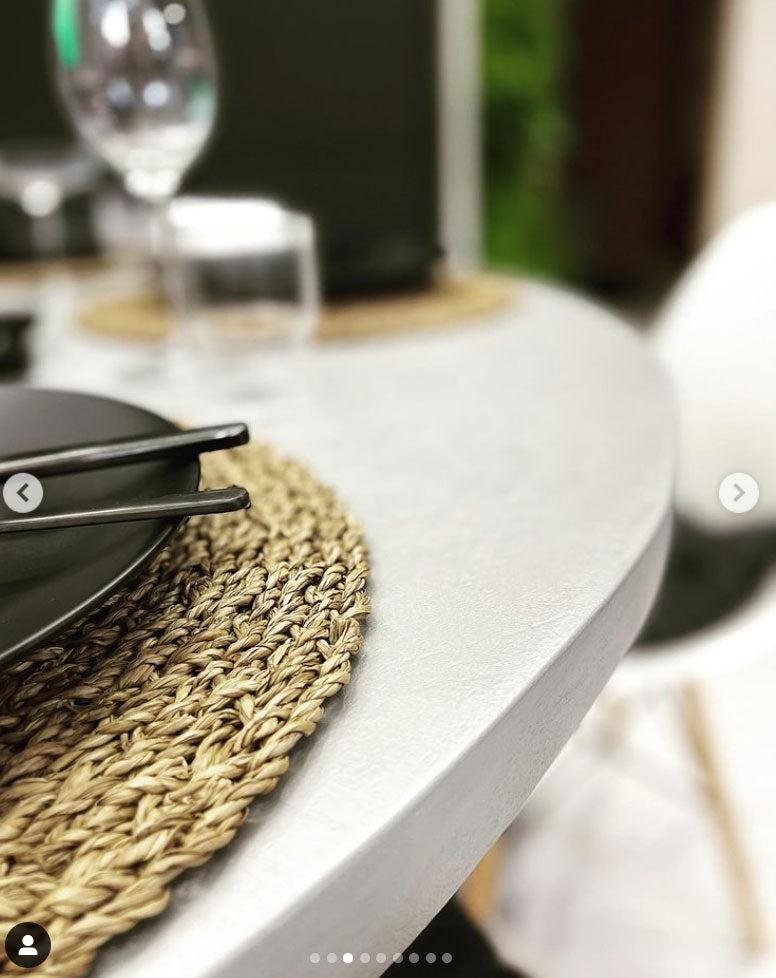
Step four – sealingMix the sealer and hardener according to the instructions and cover the tabletop with a roller. Remember that the varnished surface must be clean and dust-free. Wait 4 hours for the sealer to dry.
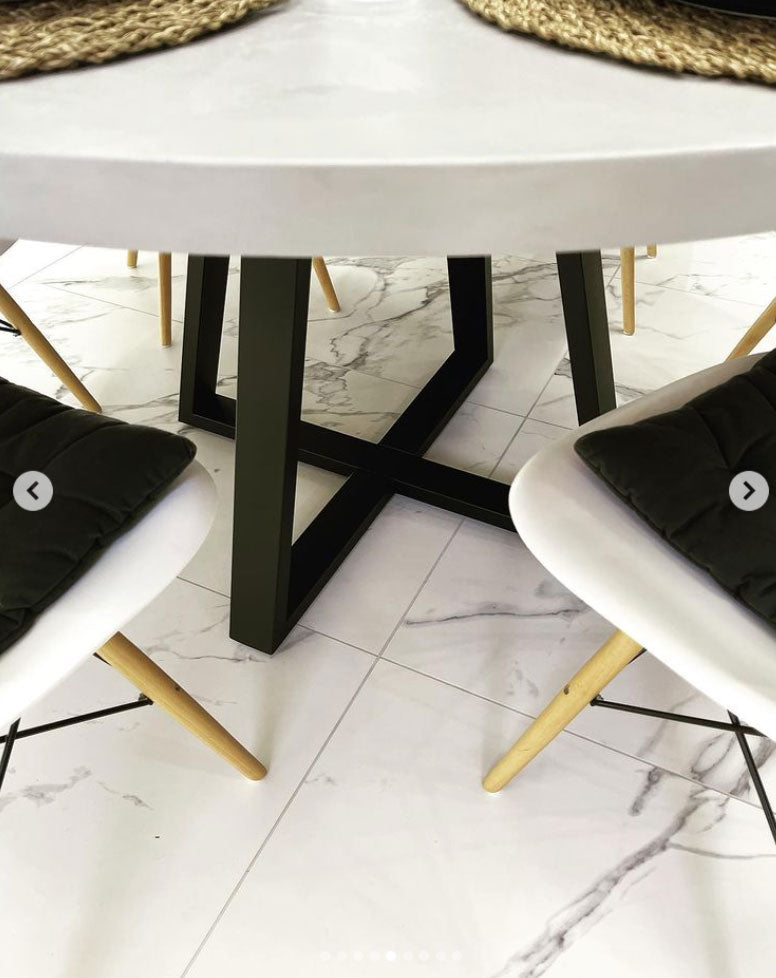
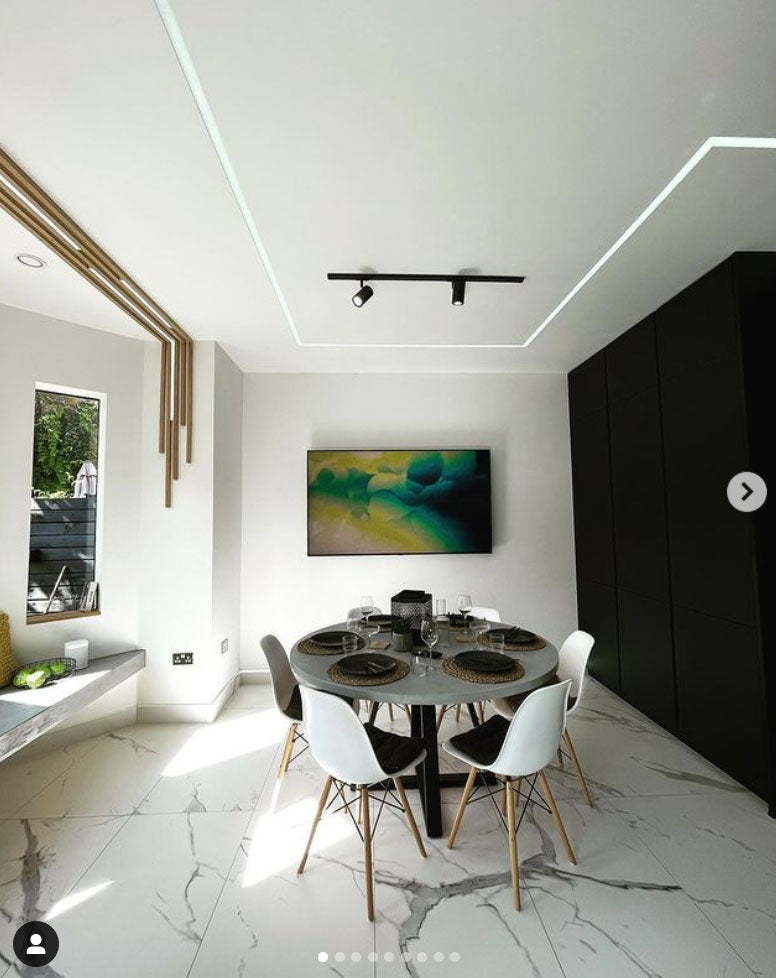
Step five – attaching the legsAttach the table legs to the tabletop using screws. The table is ready!